Walking Through the Installation Process
- When the installation package opens, you see the following screen.
If you agree to the license terms, check the "I accept" box, then click Install.

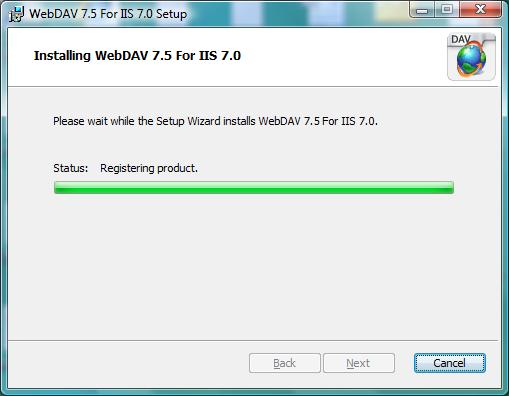
- The progress indicator will reflect the status of the installation as it proceeds.
- After the installation has completed, click Finish.
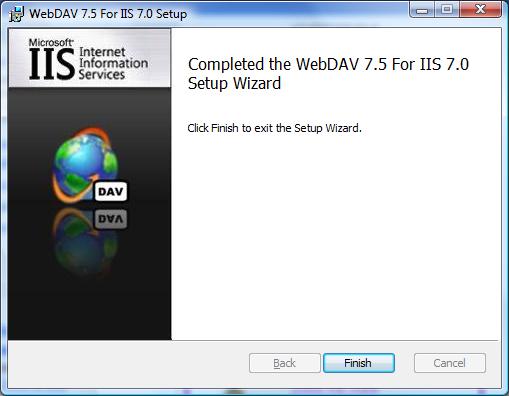
- The WebDAV extension module is now installed.
Installing WebDAV on IIS 7.5
IIS 7.5 for Windows Server 2008 R2
- On the taskbar, click Start, point to Administrative Tools, and then click Server Manager.
- In the Server Manager hierarchy pane, expand Roles, and then click Web Server (IIS).
- In the Web Server (IIS) pane, scroll to the Role Services section, and then click Add Role Services.
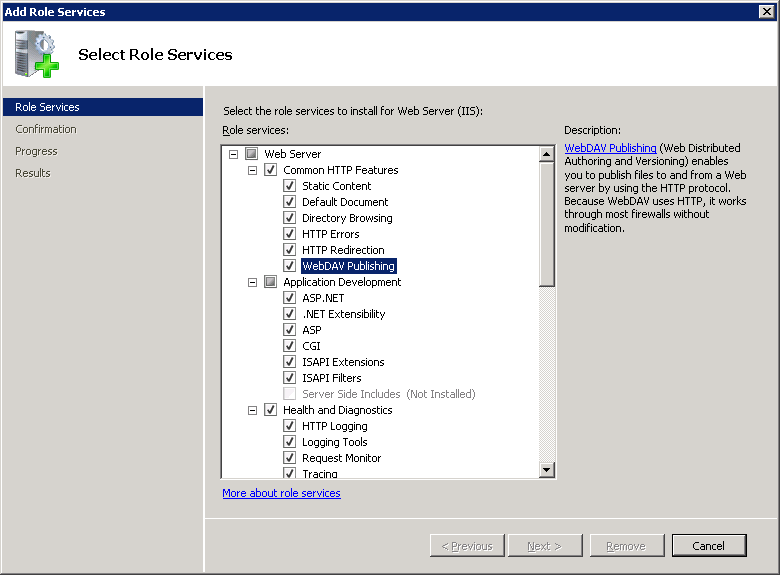
- On the Select Role Services page of the Add Role Services Wizard, expand Common HTTP Features, select WebDAV Publishing, and then click Next.
- On the Confirm Installation Selections page, click Install.
- On the Results page, click Close.
IIS 7.5 for Windows 7
- On the taskbar, click Start, and then click Control Panel.
- In Control Panel, click Programs and Features, and then click Turn Windows Features on or off.
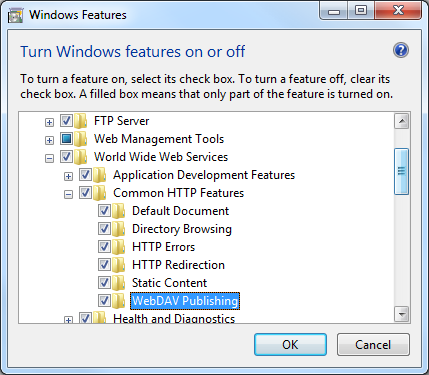
- Expand Internet Information Services, then World Wide Web Services, then Common HTTP Features.
- Select WebDAV Publishing, and then click OK.
Installing WebDAV on IIS 8.0 and IIS 8.5
IIS 8.0 on Windows Server 2012 and IIS 8.5 on Windows Server 2012 R2
- Click the Server Manager icon on the desktop.
- In the Server Manager window, click the Manage menu, and then click Add Roles and Features.
- On the Before You Begin page, click Next.
- Select the Installation Type and then click Next.
- Select the Destination Server, and then click Next.
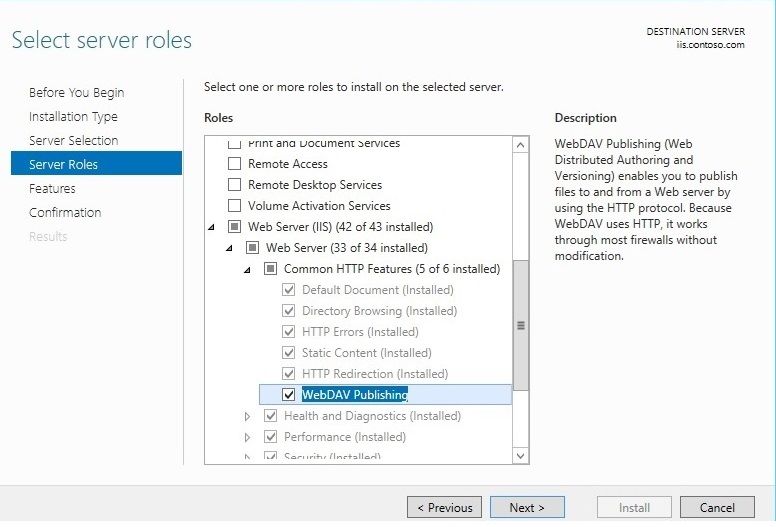
- On the Select Role Services page, expand Web Server (IIS), expand Web Server, expand Common HTTP Features, and then select WebDAV Publishing. Click Next.
- On the Select Features page, click Next.
- Confirm the installation selection, and then click Install.
- On the Results page, verify that the installation succeeds, and then click Close.
- On the Confirm Installation Selections page, click Install.
- On the Results page, click Close.
IIS 8.0 for Windows 8 and IIS 8.5 for Windows 8.1
- On the taskbar, hold down the Windows key, and then press the X key. Click Control Panel.
- In the Control Panel, click Programs and Features, and then click Turn Windows Features on or off.
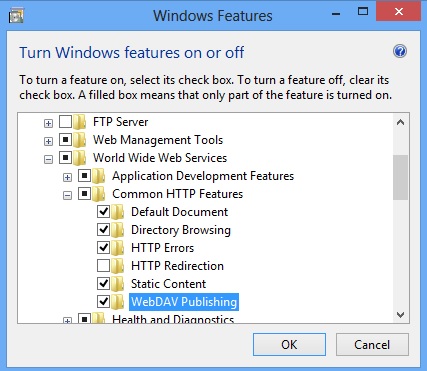
- Expand Internet Information Services, then World Wide Web Services, then Common HTTP Features.
- Select WebDAV Publishing, and then click OK.
Enabling WebDAV Publishing by Using IIS Manager
The WebDAV extension module makes it easy to add WebDAV publishing to existing sites by providing you with a wizard that walks you through all of the required steps.Note: The following procedure is performed using IIS 8.5 on Windows Server 2012 R2
Step 1: Enabling WebDAV and Adding an Authoring Rule
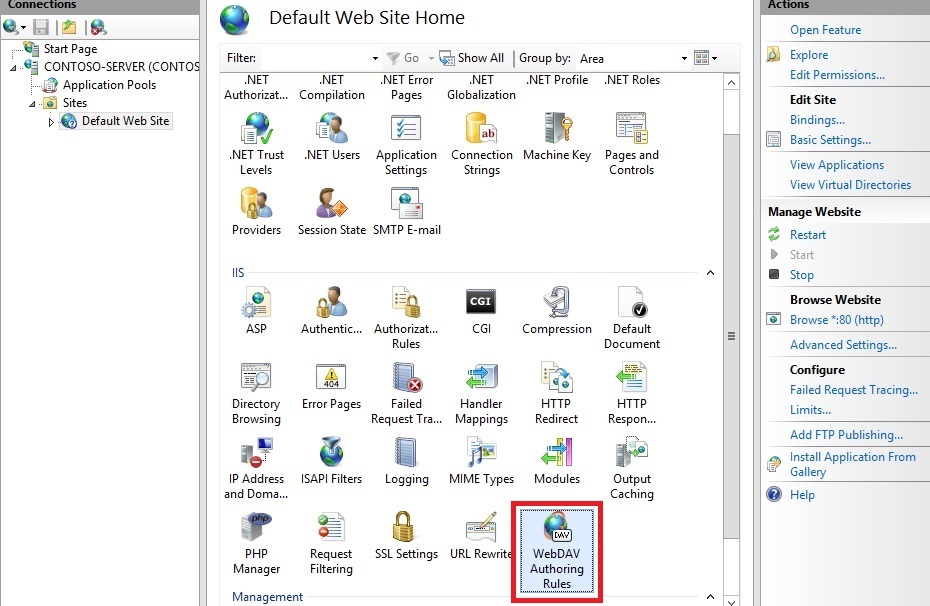
In this first step, we add WebDAV publishing to the Default Web site, and add the required settings to allow the local administrator account to edit the content.- In IIS Manager, in the Connections pane, expand the Sites node in the tree, then click the Default Web Site.
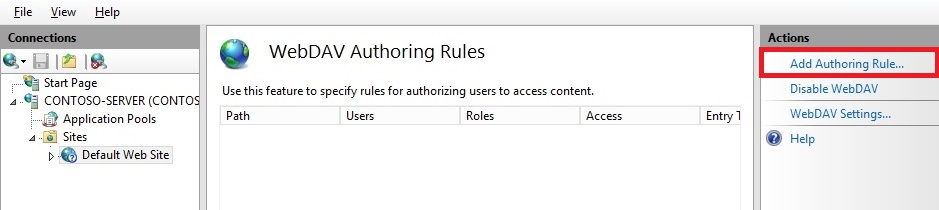
- As shown in the image below, double-click the WebDAV Authoring Rules feature.
- When the WebDAV Authoring Rules page is displayed, click the Enable WebDAV task in the Actions page.
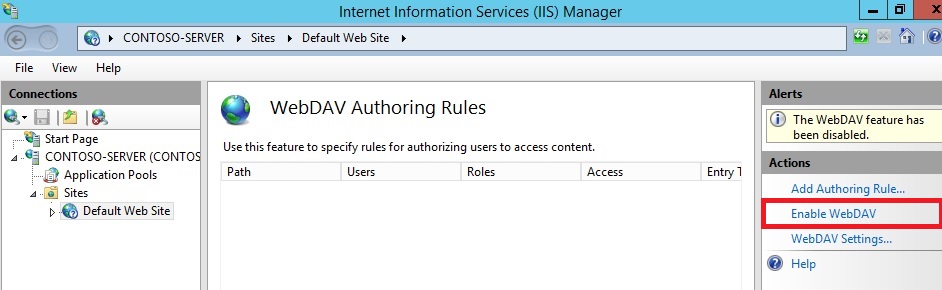
- Once WebDAV has been enabled, click the Add Authoring Rule task in the Actions pane.
- When the Add Authoring Rule dialog appears:
- Click All content to specify that the rule applies to all content types.
- Choose Specified users and type "administrator" for the user name.
- Select Read, Source, and Write for the permissions.
- When you have completed these items, click OK.

Task completed. You have enabled WebDAV authoring on an existing Web site.
To recap the items that you completed in this step, we added WebDAV publishing to the Default Web Site by:
- Enabling WebDAV for the Web site.
- Adding an Authoring Rule for the local administrator account for Read, Source, and Write access.
Step 2: Logging in to Your WebDAV Site
In Step 1 above, you enabled WebDAV publishing for your Default Web Site and added an authoring rule for the local administrator account for Read, Source, and Write access to your Web site's content. In this step, you log in using your administrator account.Ensuring that you have authorization and authentication configured
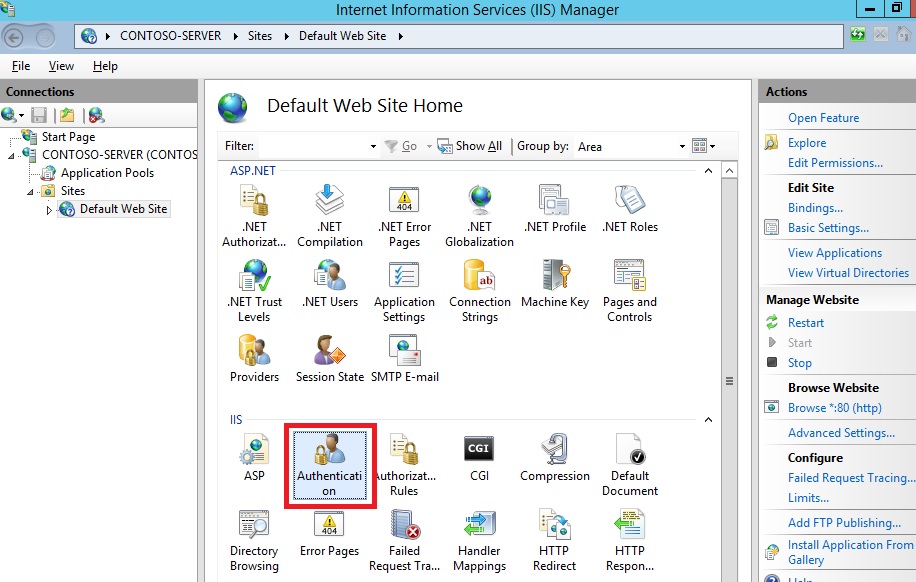
- In IIS Manager, in the Connections pane, expand the Sites node in the tree, then click the Default Web Site.
- Double-click the Authentication feature.
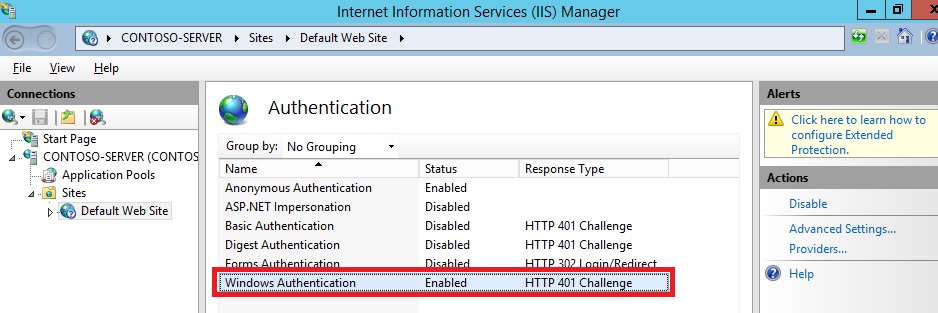
- When the Authentication feature opens, make sure that Windows Authentication is enabled. If it is not enabled, select Windows Authentication, and click Enable in the Action menu.(Note:
You can use Basic Authentication with WebDAV, but the WebDAV redirector
will only use Basic authentication with SSL connections.)
- In IIS Manager, click the Default Web Site under the Sites node in the tree.
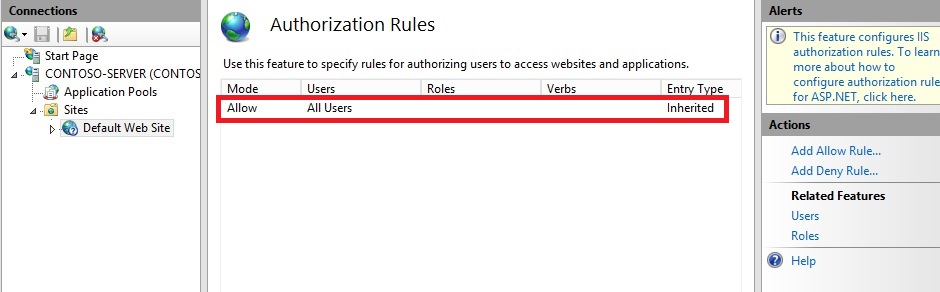
- Double-click the Authorization Rules feature.
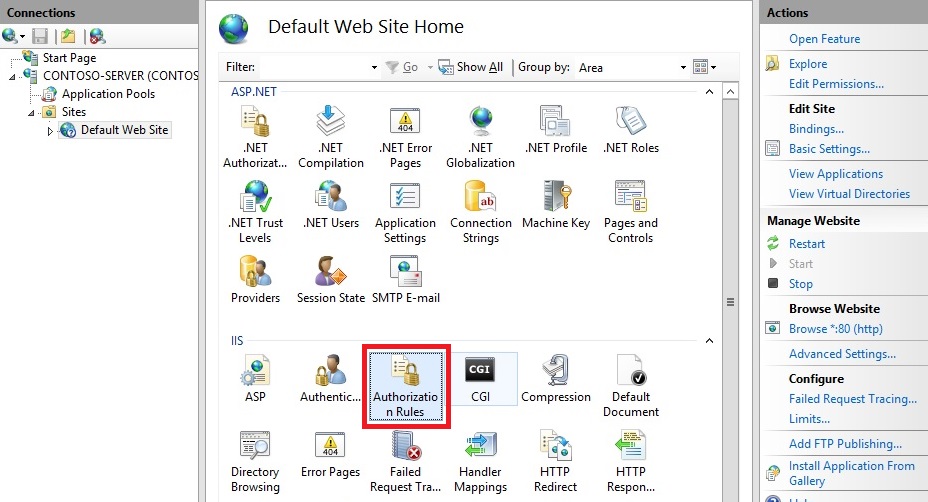
- When the Authorization feature opens, make sure that an Allow
rule is defined that includes the administrator account. (For example,
the default rule for IIS allowing access to All Users will include the
administrator account.)
Logging into your WebDAV site requires the WebDAV Redirector. The WebDAV Redirector is used to publish content to an existing Web site that has the WebDAV nodule installed. You must use Server Manager to install the Desktop Experience feature before you can use the WebDAV redirector. For more information, see Using the WebDAV Redirector.
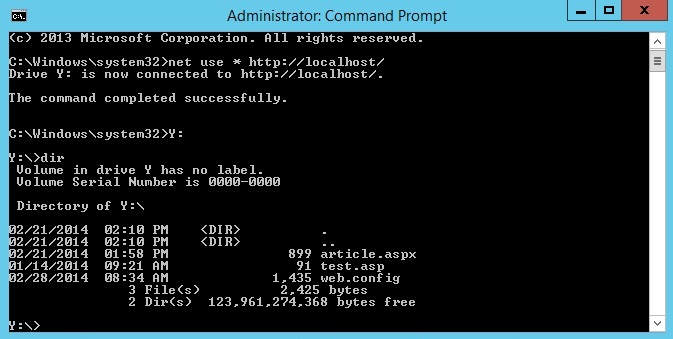
- On your WebDAV server, open a command prompt session.
- Type the following command to connect to your WebDAV server:
net use * http://localhost/
 Summary for logging into your WebDAV site
To recap the items that you completed in this step:
- You verified that your Web site had sufficient authentication and authorization settings.
- You logged in to your WebDAV site as the local administrator.
www.technetsupport.microsoft.com
Published By
S.G.Godwin Dinesh.MCA
Sr.System Administrator
No comments:
Post a Comment