Note: For a Standalone/Workgroup server see
below for setting up users and groups.
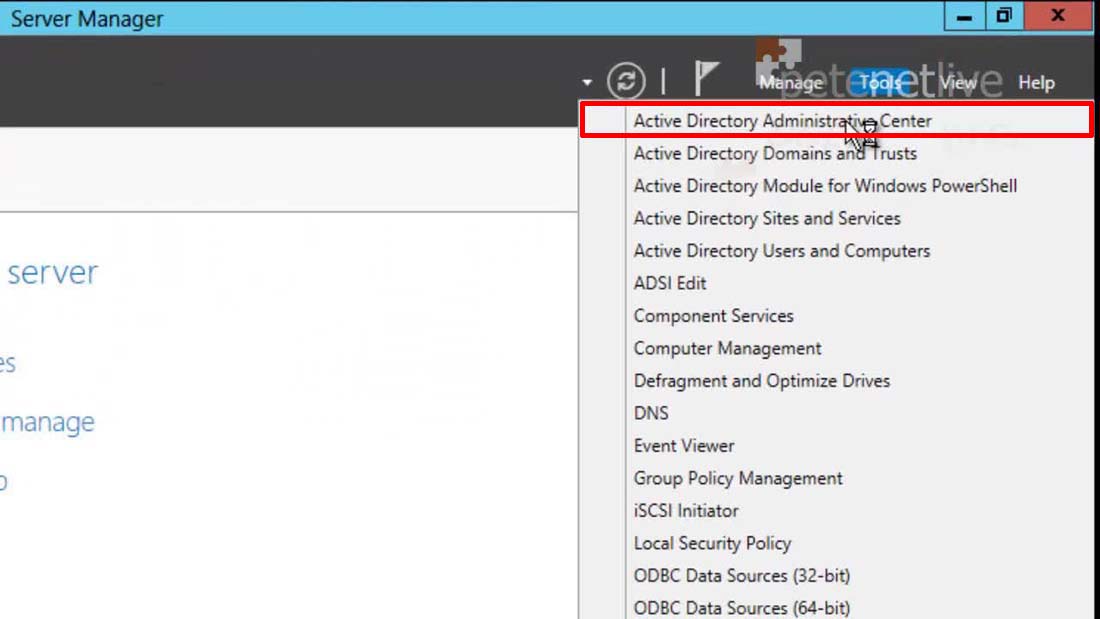
1. Launch Server Manager > Tools > Active Directory Administrative Center.
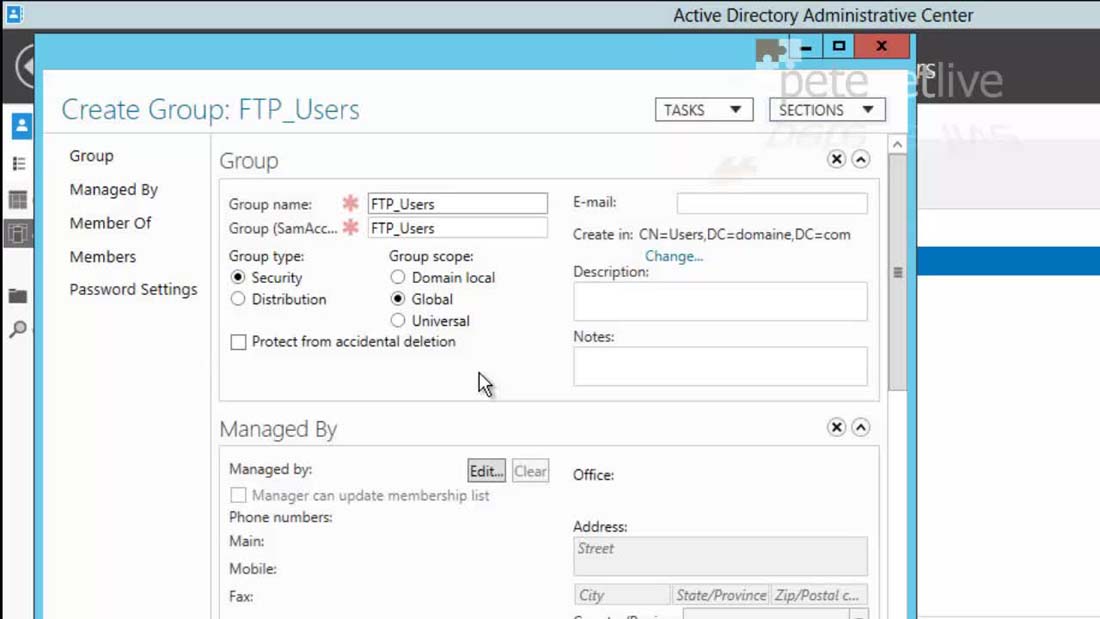
2. New > Group.
3. Give the group a sensible name.
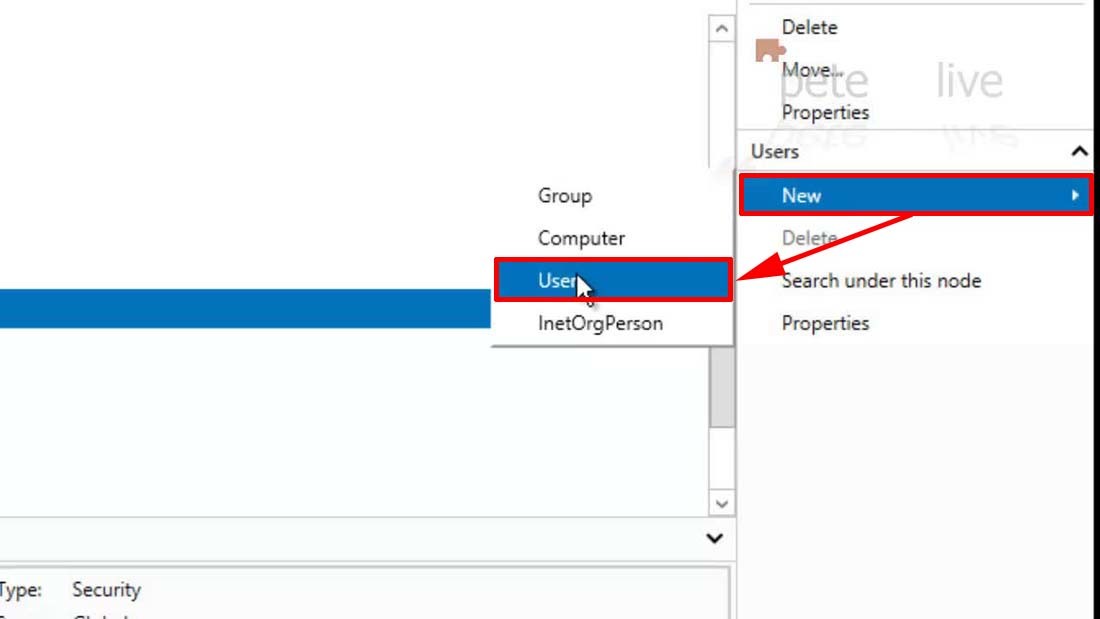
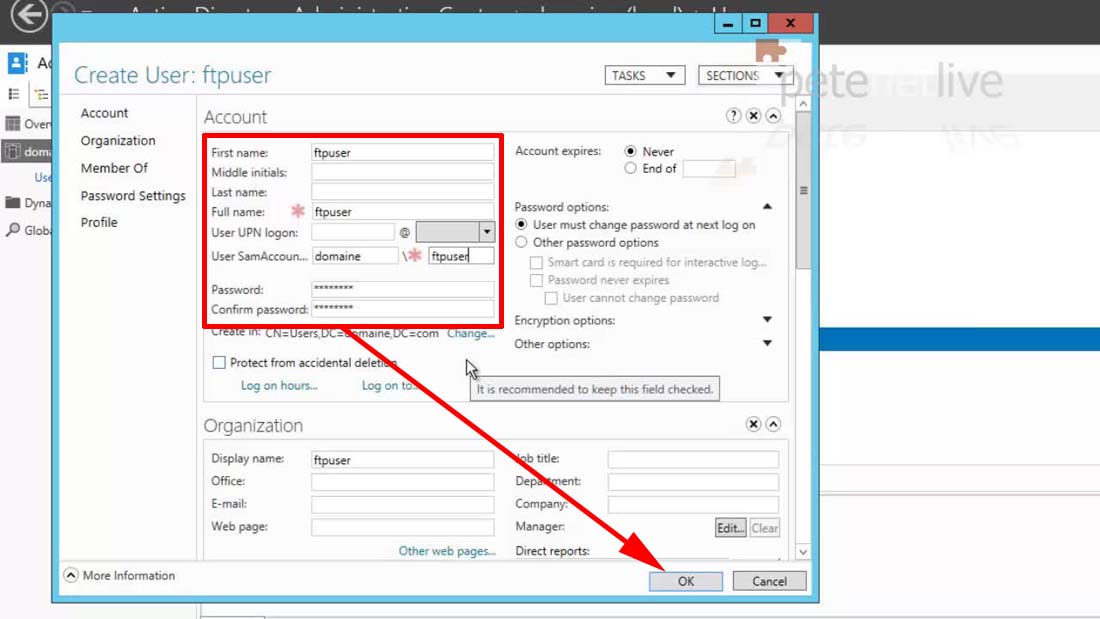
4. Here I'm going to create a user to test with, in production
you would just use the domain users who you want to give access to.
5. I will simply create a user called 'ftpuser'.
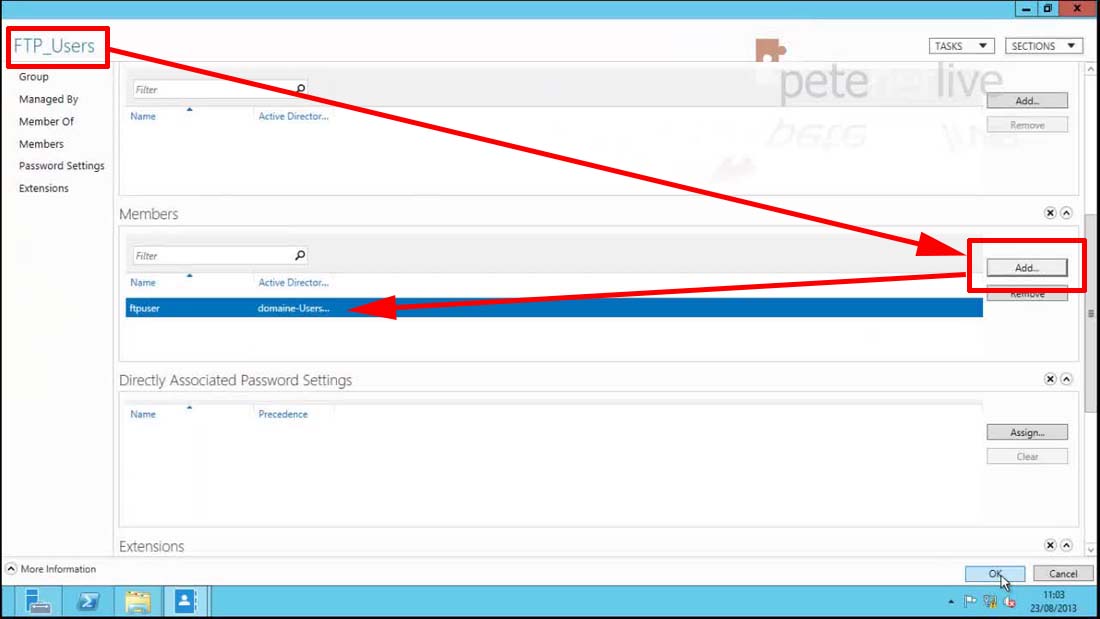
6. Add the domain user(s) to your new security group.
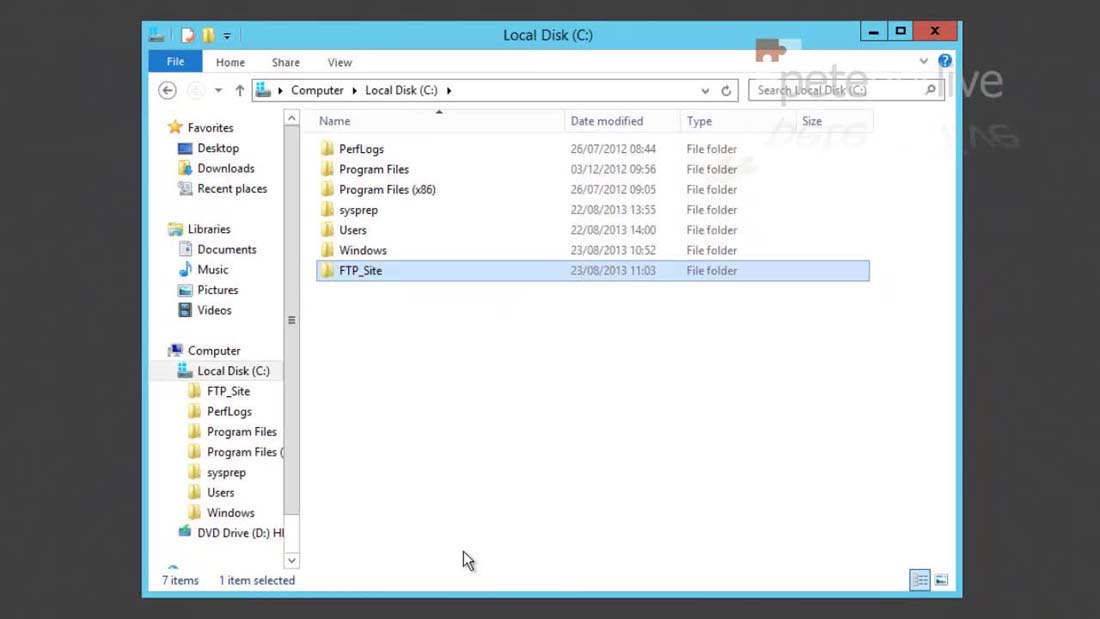
7. Create a folder that will be the 'root' of your
FTP site.
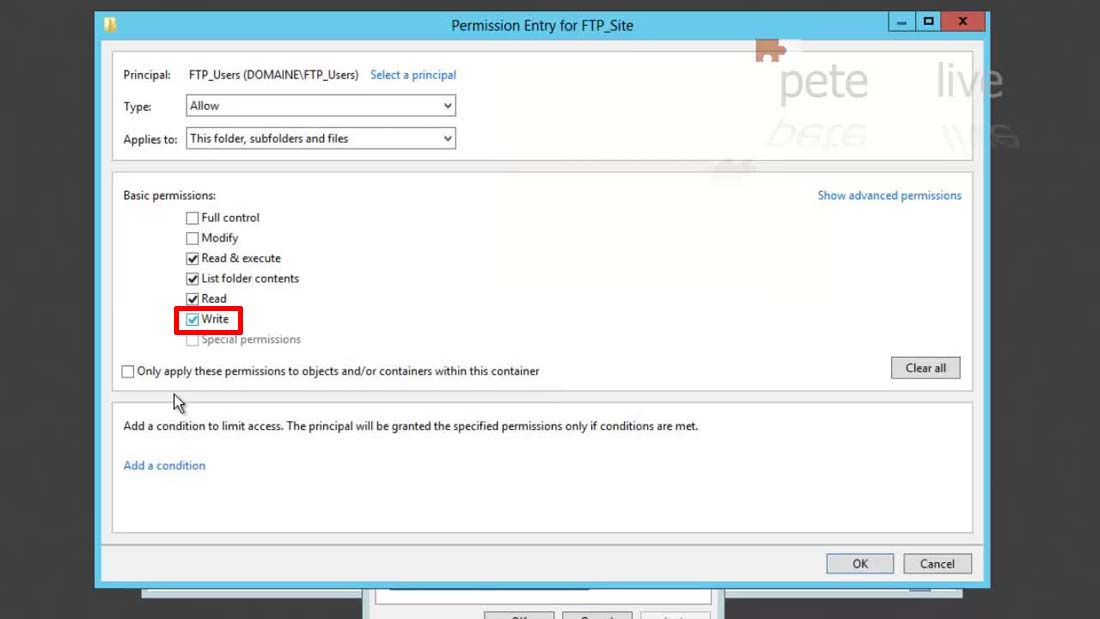
8. Grant your security group rights to this folder (
Note: By default they will only get
Read rights, you will need to add
'Write' if you want your users to be able to 'put' files).
Create a Security Group For Workgroup / Standalone FTP Access
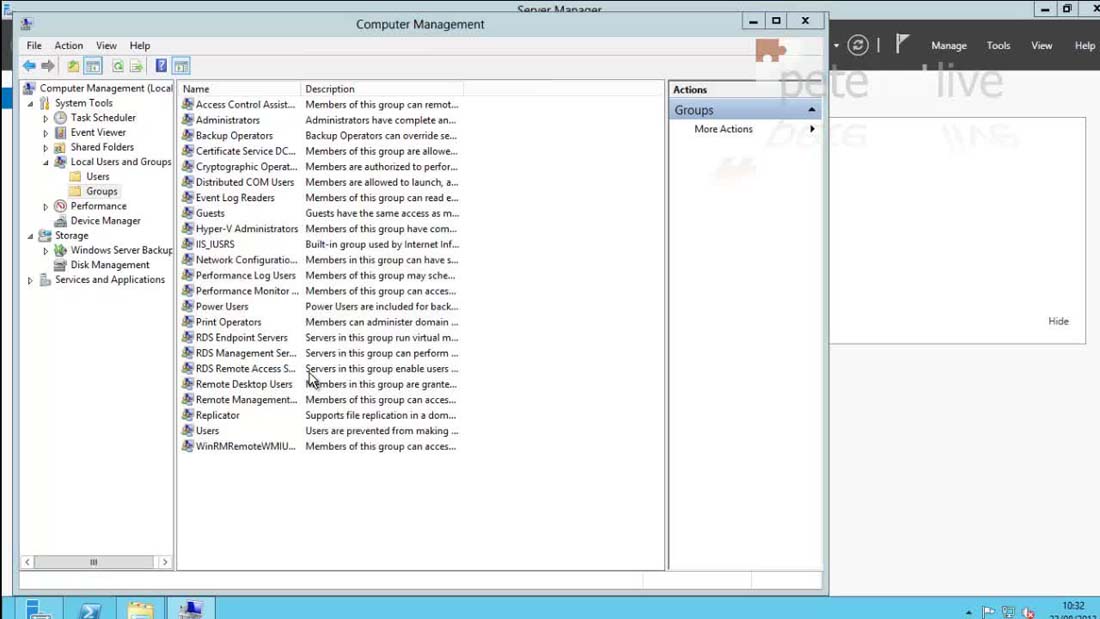
1. From Server Manager > Tools >Computer Management.
2. System Tools > Local Users and Groups > Groups.
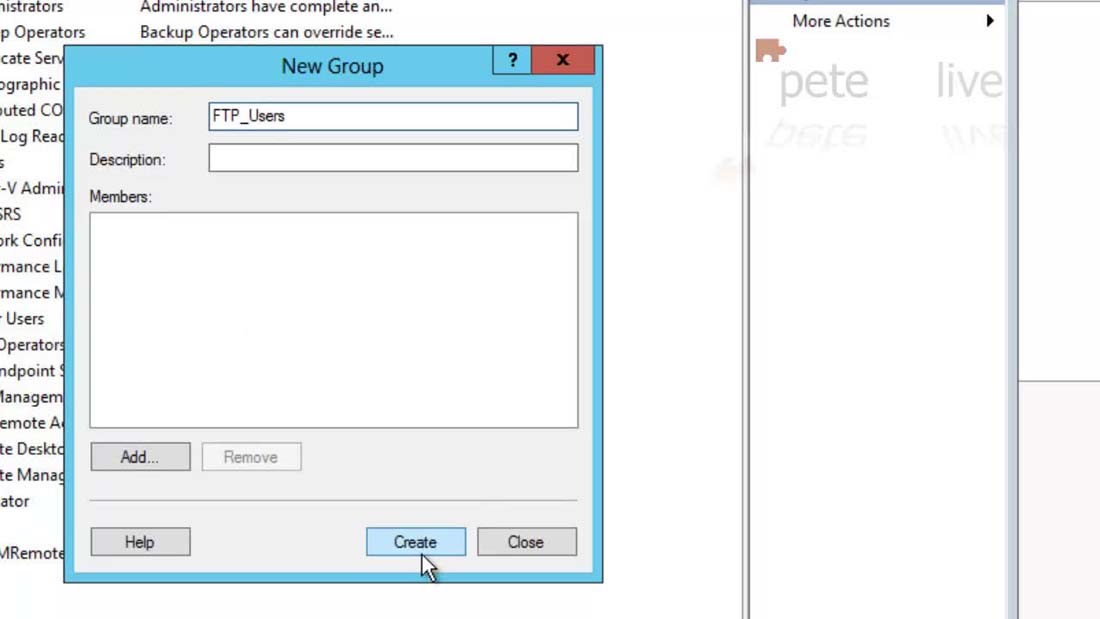
3. Give the group a sensible name.
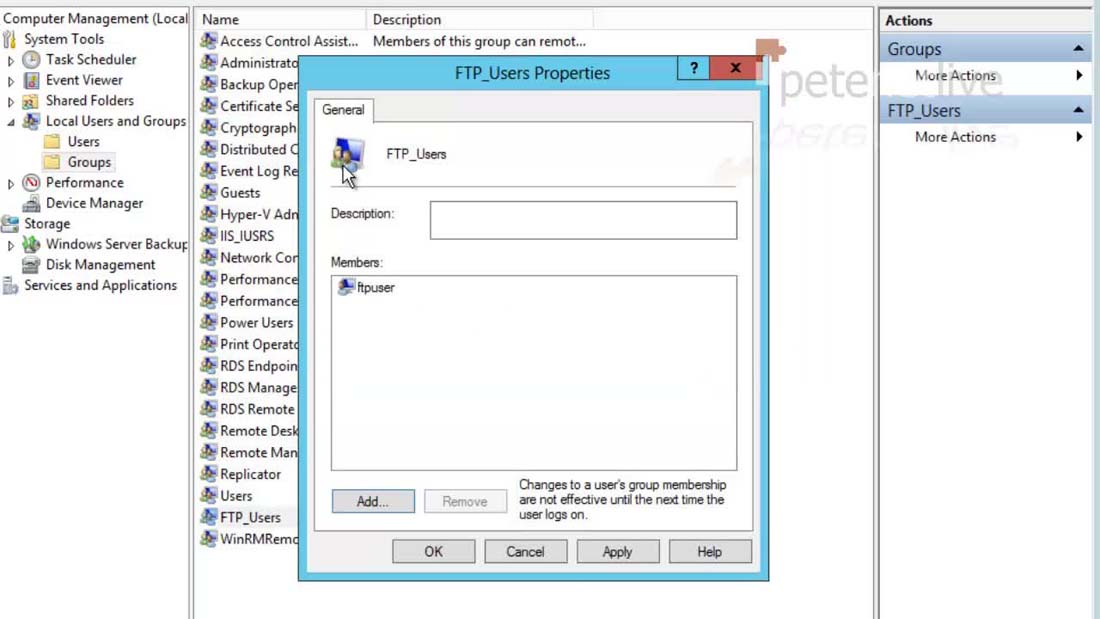
4. I'm going to create a test user called ftpuser, this is done in Local users and groups > Users.
5. Place the user(s) you want to grant access to, into your local security group.
6. Crete a folder that will be the 'root' of your
FTP site and open its properties.
7. On the security Tab > Advanced > Grant your security group rights to this folder (
Note: By default they will only get
Read rights, you will need to add
'Write' if you want your users to be able to 'put' files).
Windows Server 2012 Install FTP
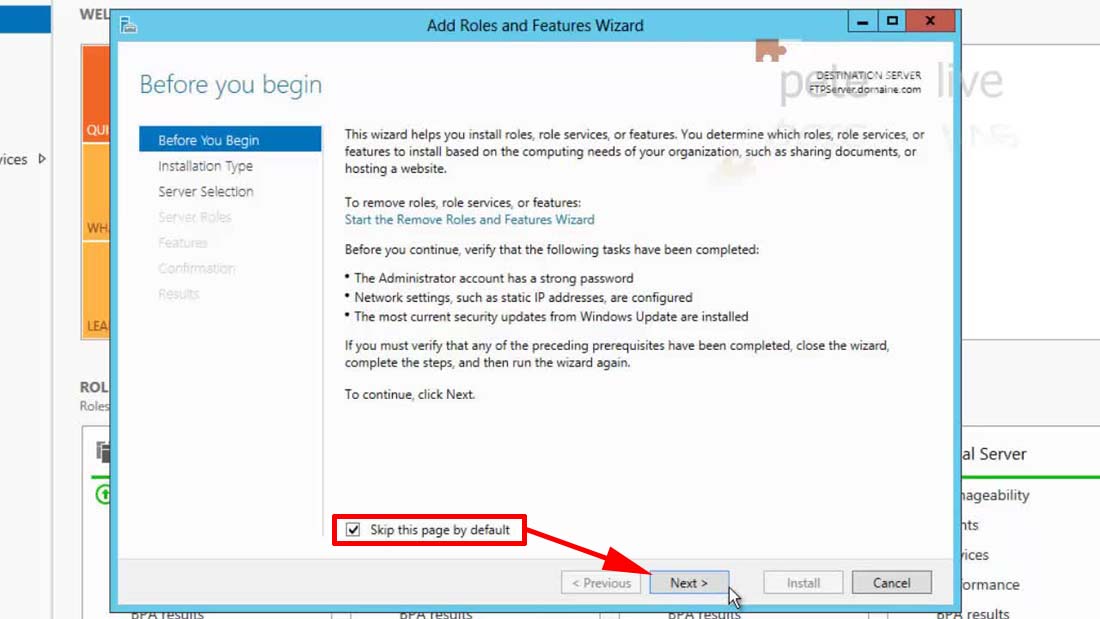
1. From Server Manager > Tools > Add Roles and Features.
2. Next.
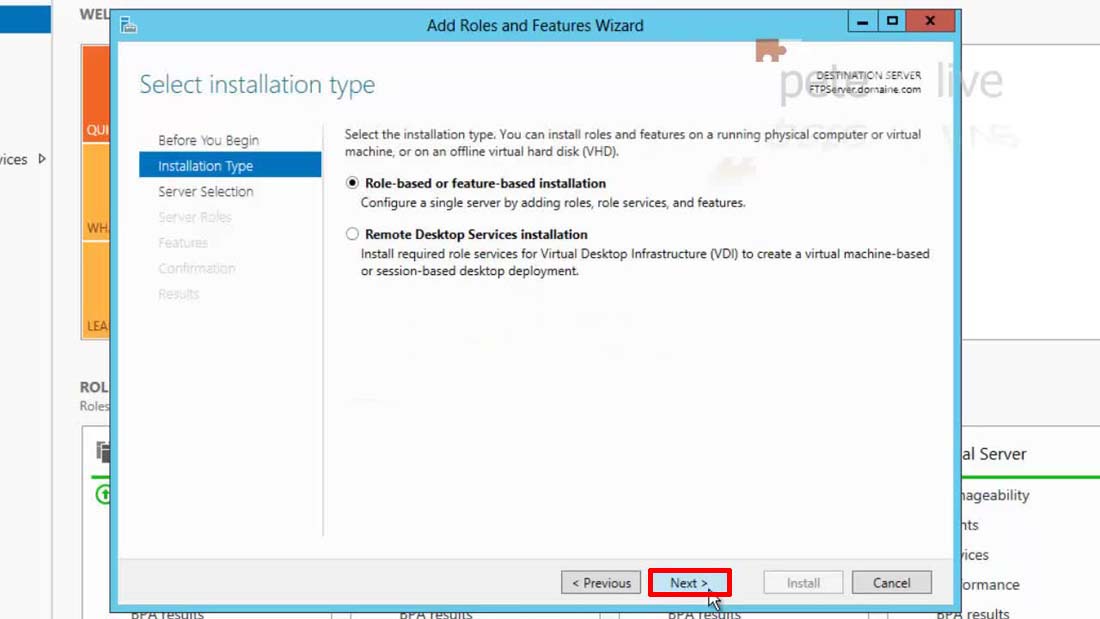
3. Next
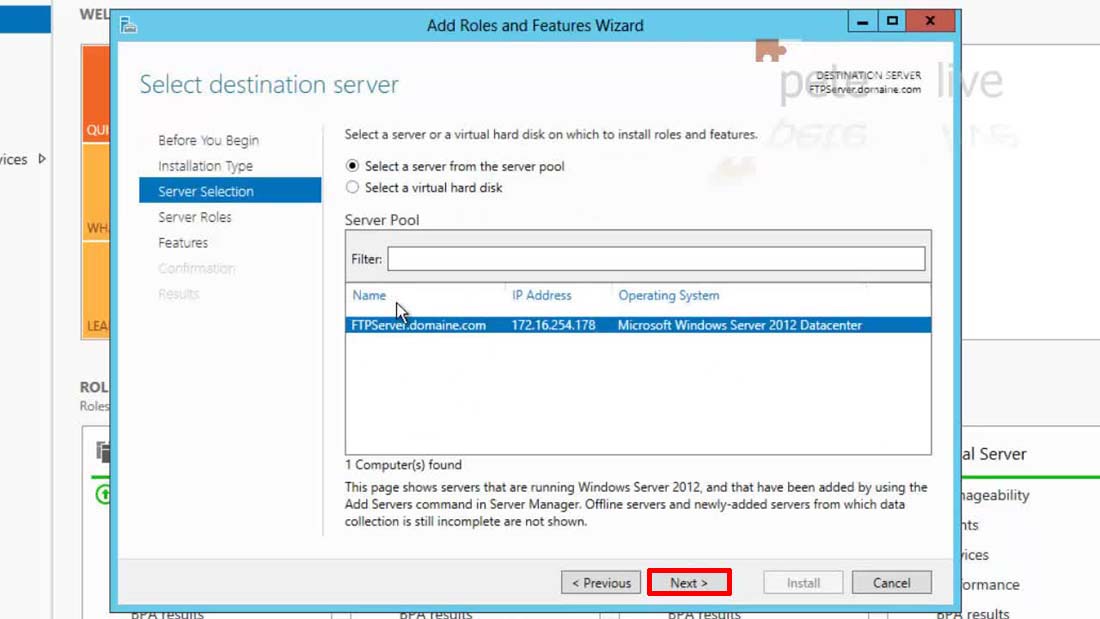
4. Next
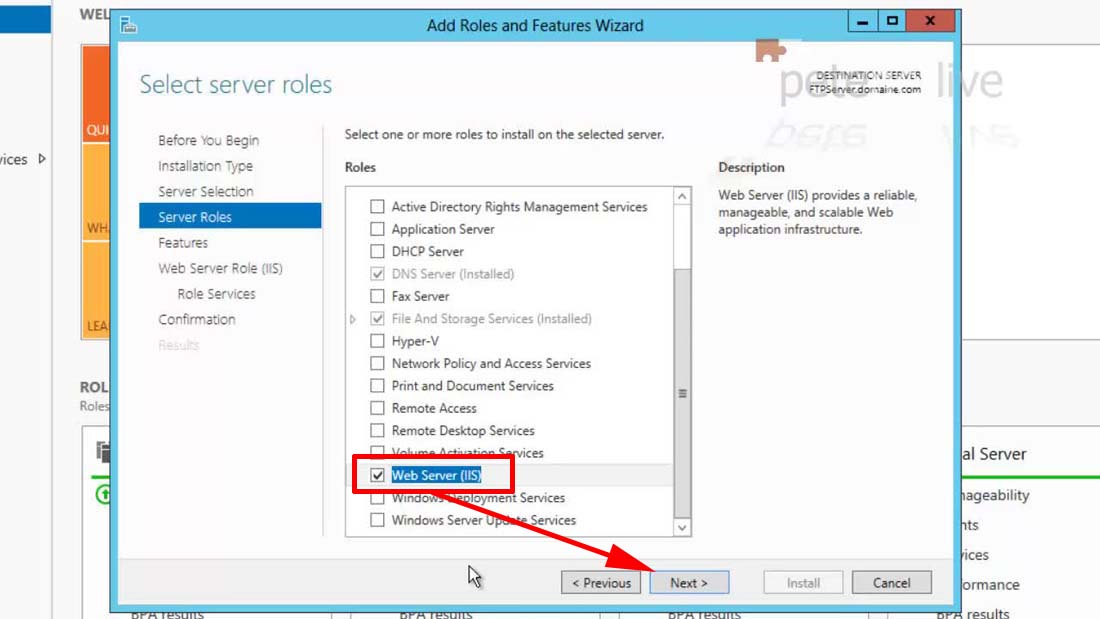
5. Select Web Server (
IIS) > Select Add (when prompted) > Next.
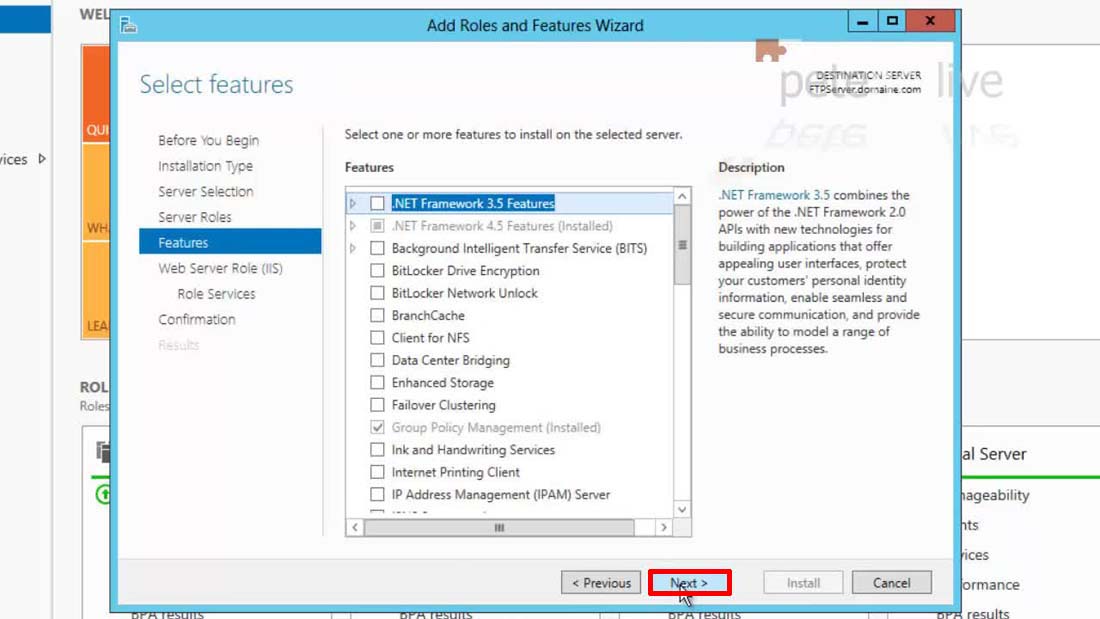
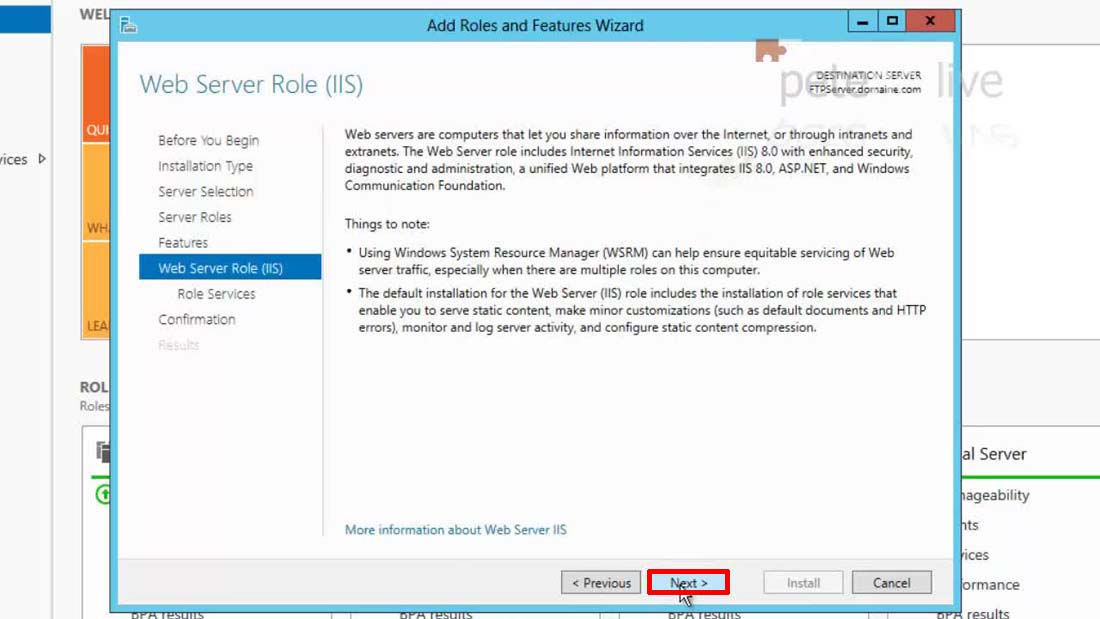
6. Next
7. Next
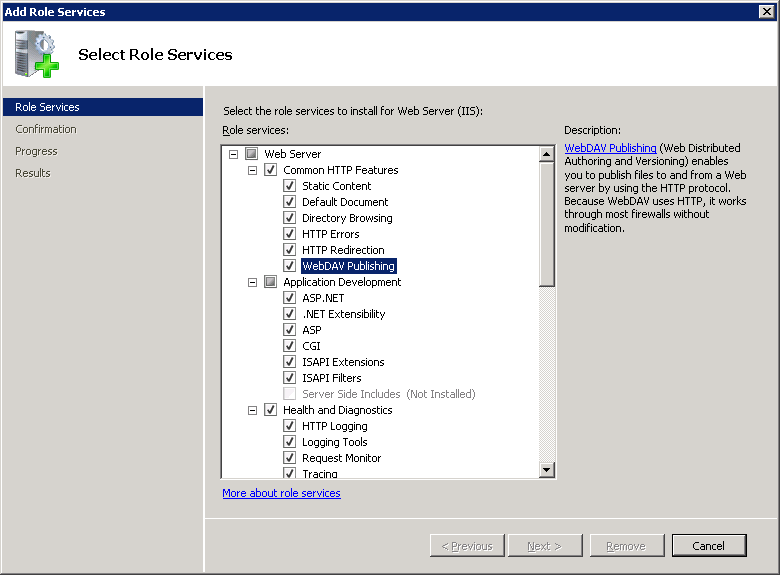
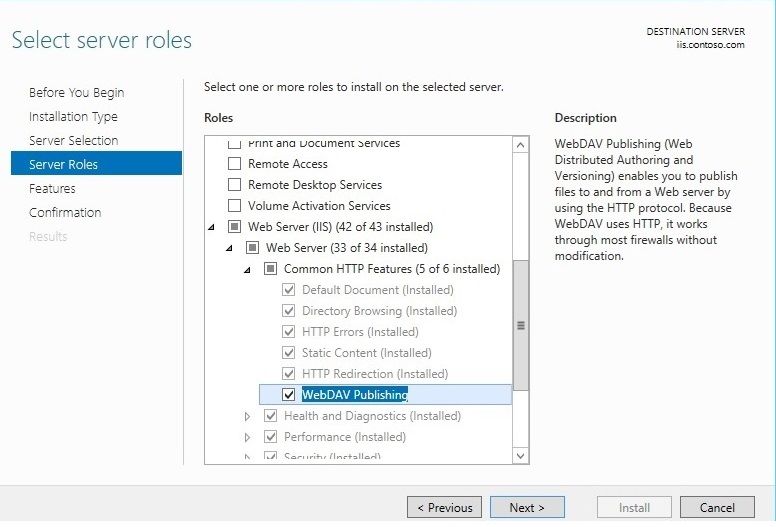
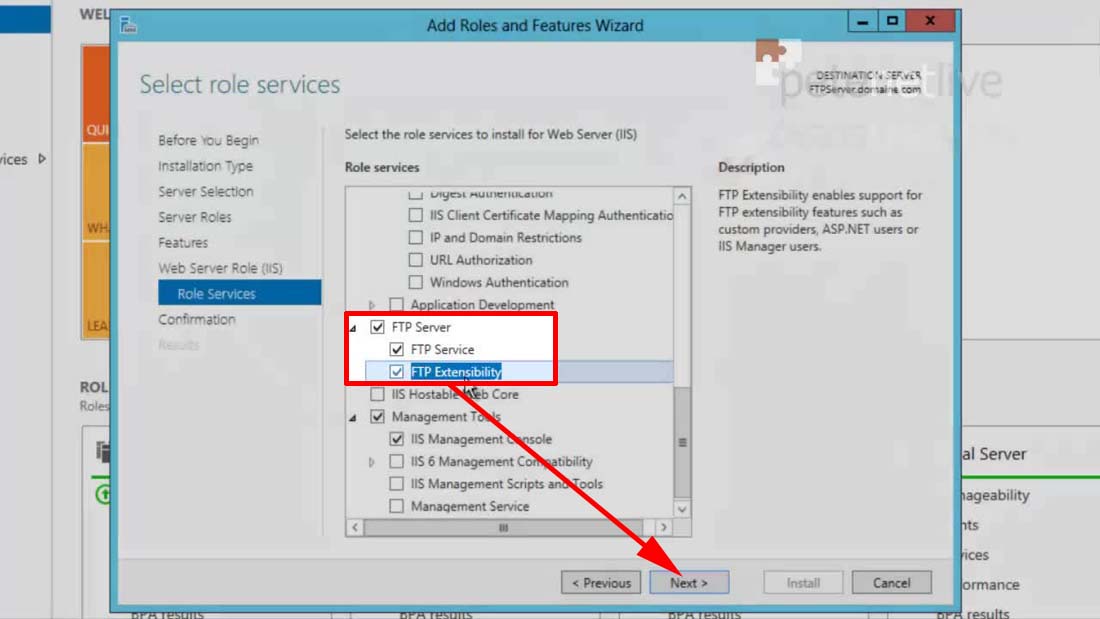
8. Locate and Select
FTP Server
AND FTP Extensibility > Next.
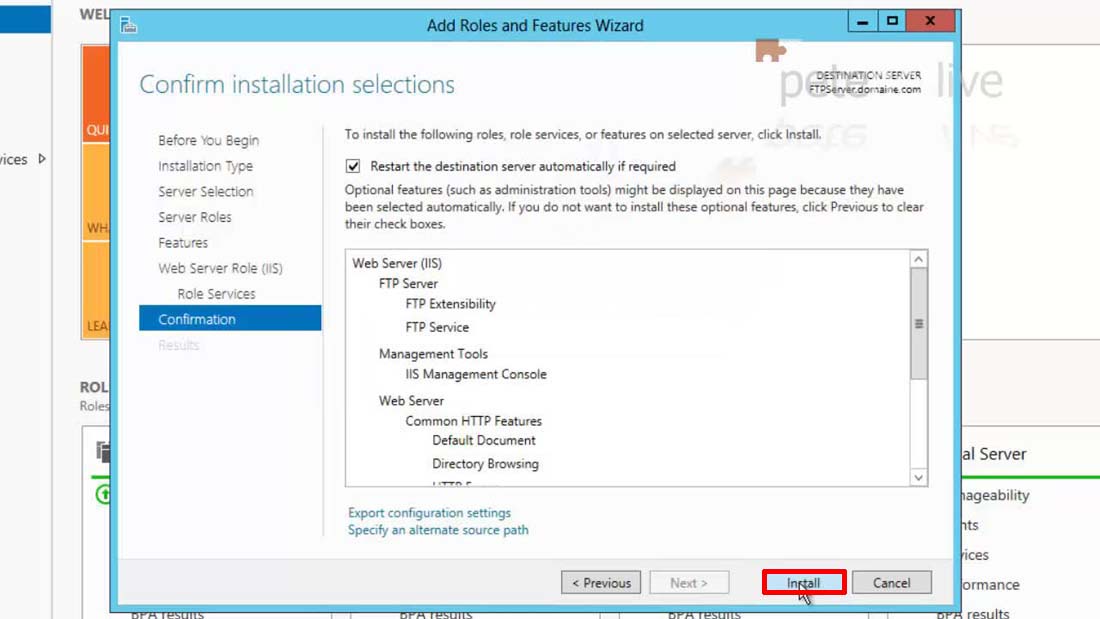
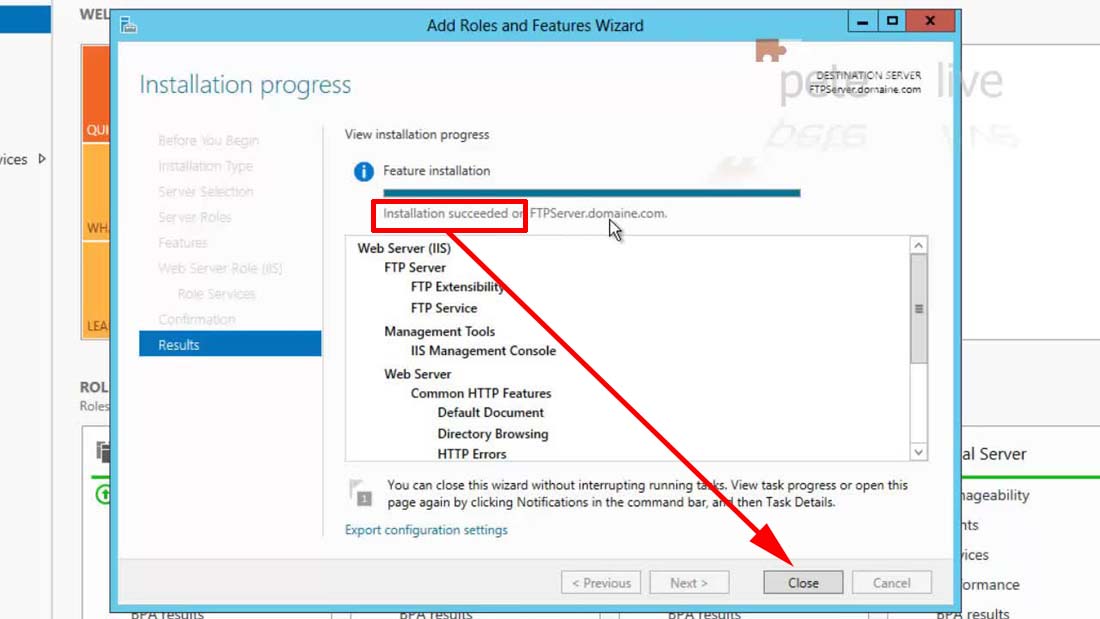
9. Install
10. Close.
11. Reboot the server. This is because some of the firewall
settings have a habit of not enabling until the server has restarted,
this does not happen all the time, so you may be lucky and not need to
reboot. But I'm a firm believer in 'If something can go wrong, it will
go wrong'.
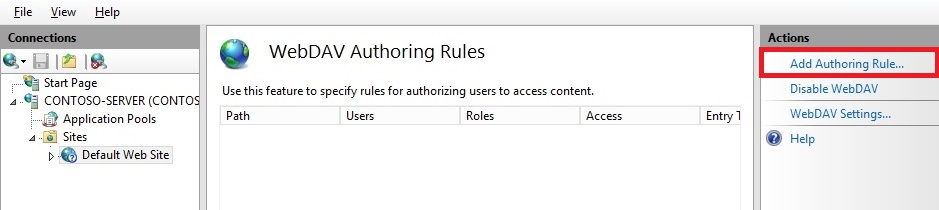
Windows Server 2012 Configure FTP
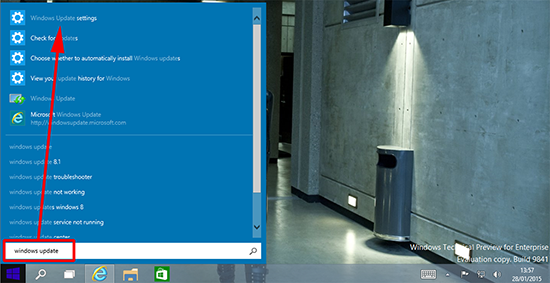
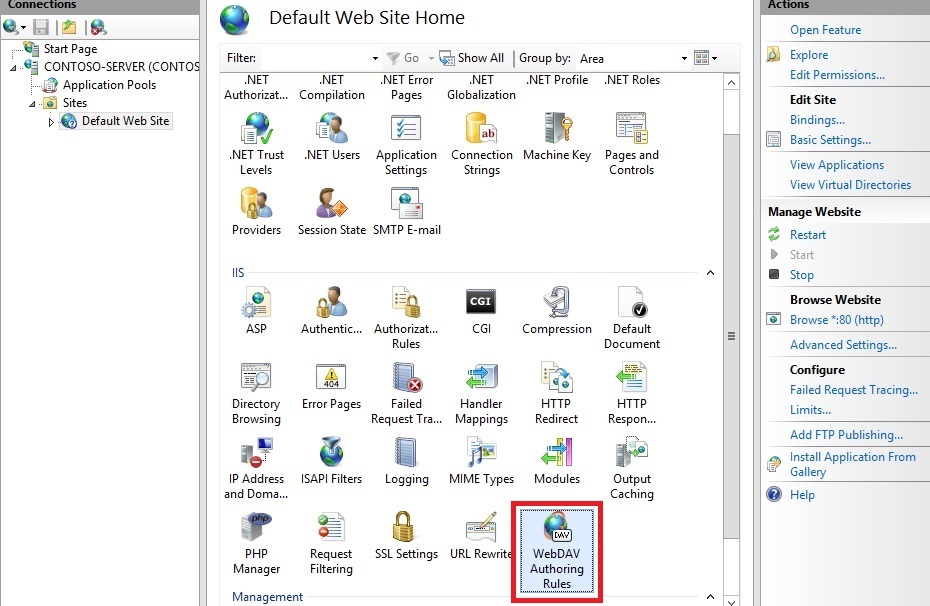
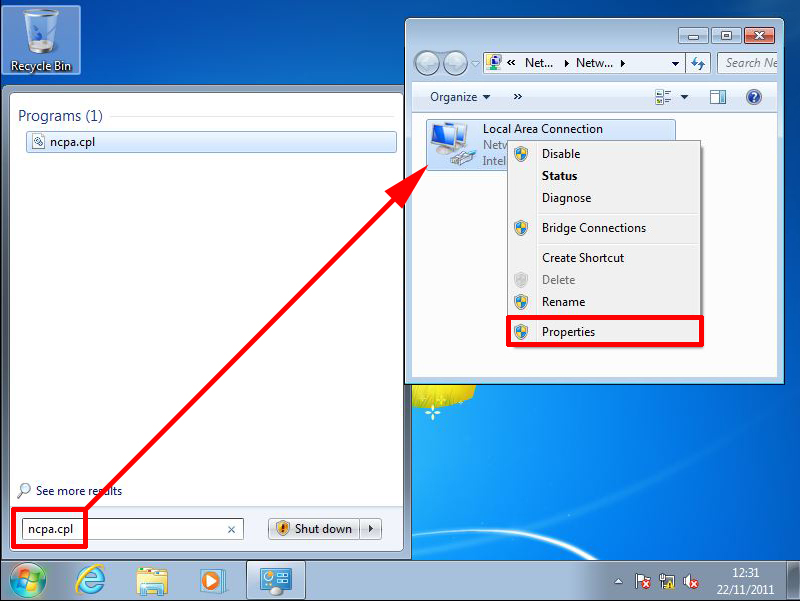
1. Windows Key > Internet Information Services (
IIS) Manager.
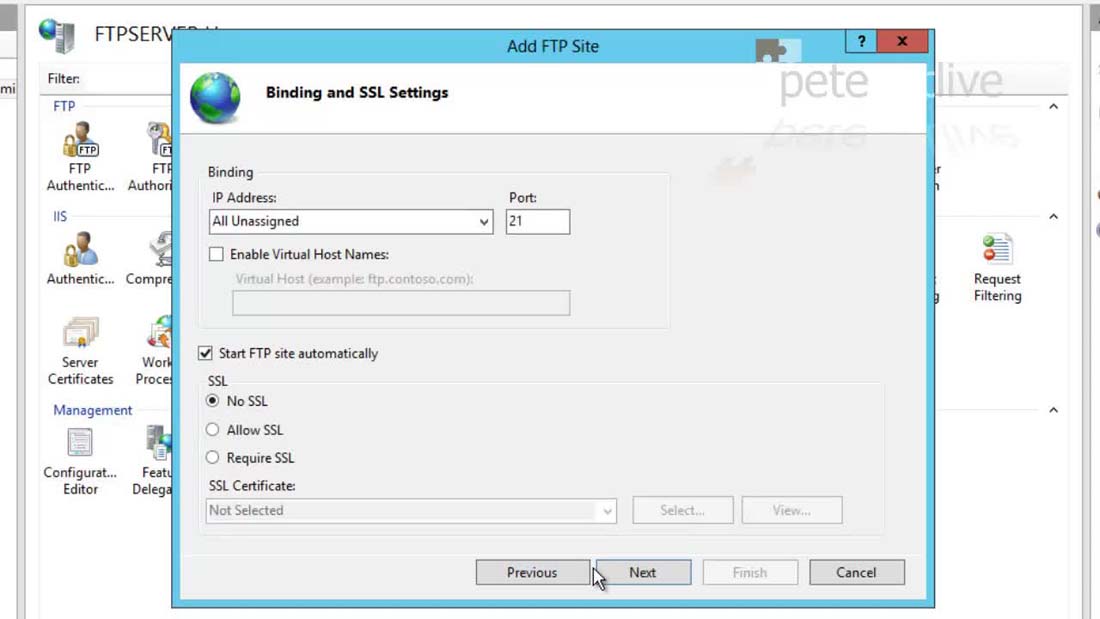
3. Expand the servername > Right click 'Sites' > Add
FTP Site.
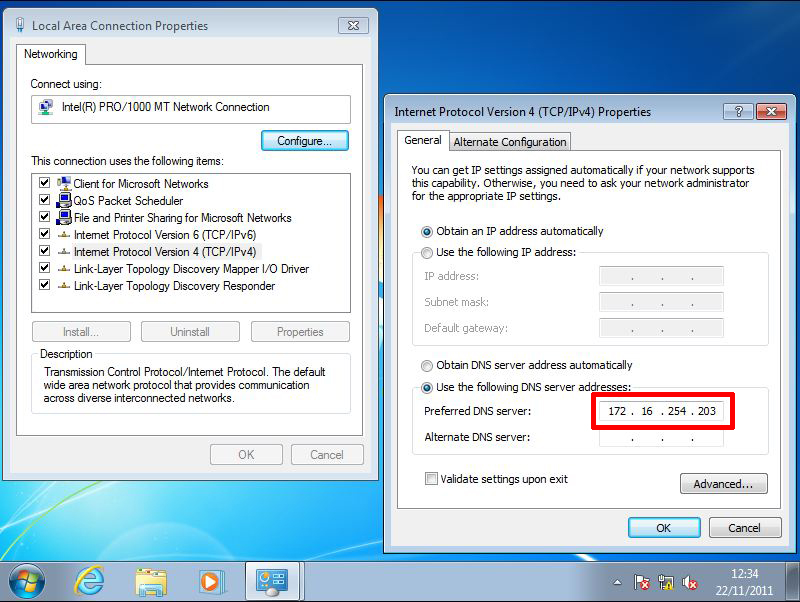
4. Give the site a name > Browse to the folder you are going to use as the
FTP 'root' folder > Next.
5. Select No
SSL (I'm not going to secure the site with web certificates) > Next.
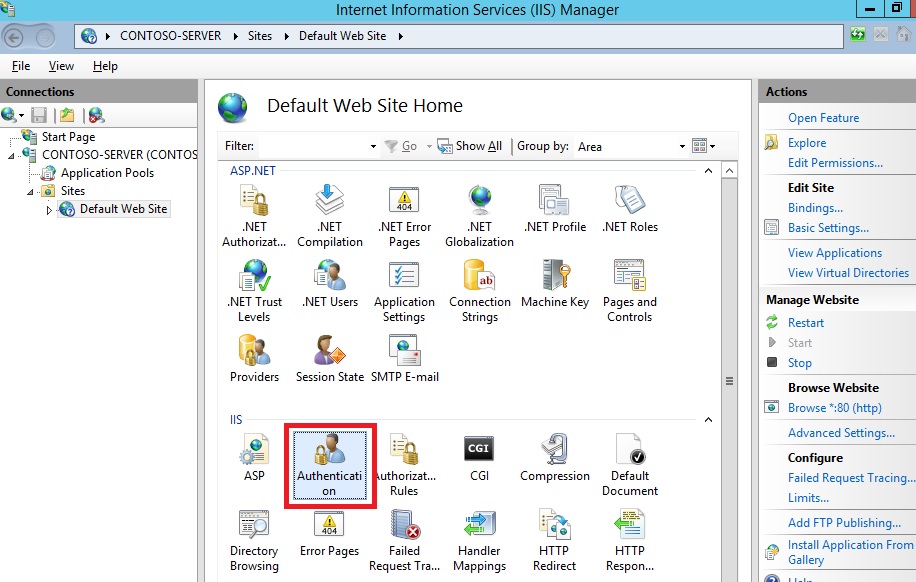
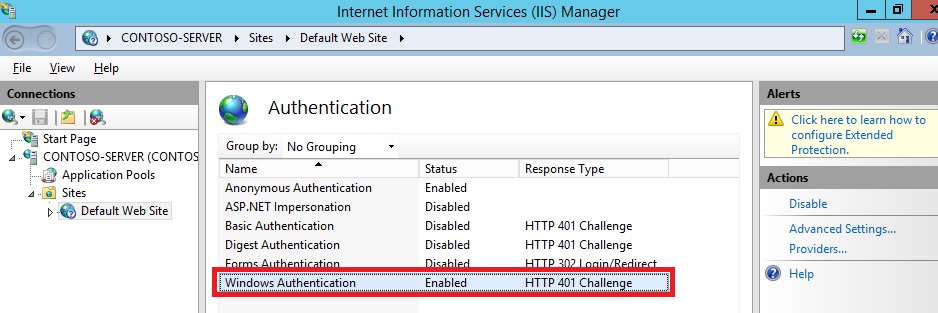
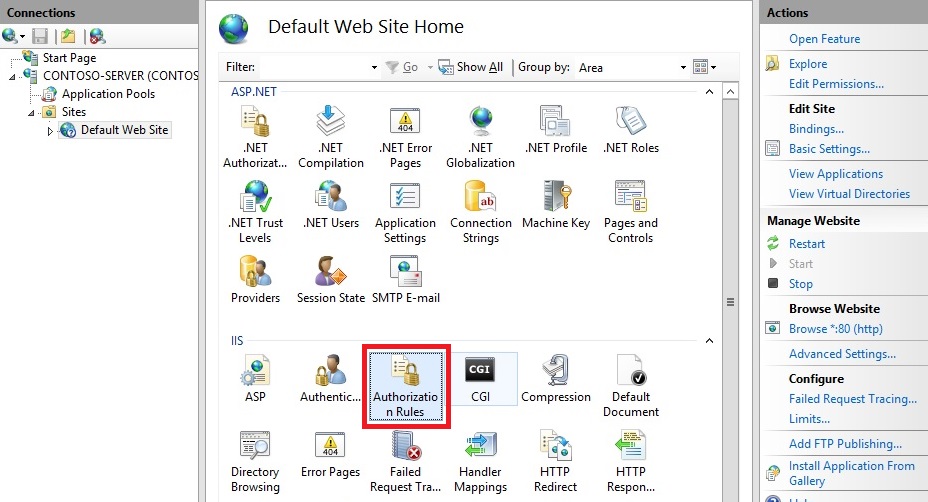
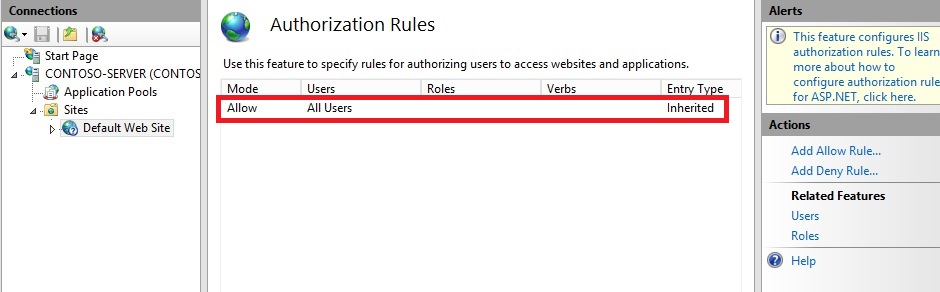
6. Authentication = Basic > Allow Access to = Selected roles
or user groups > Permissions = Select read and write as appropriate
> Finish.
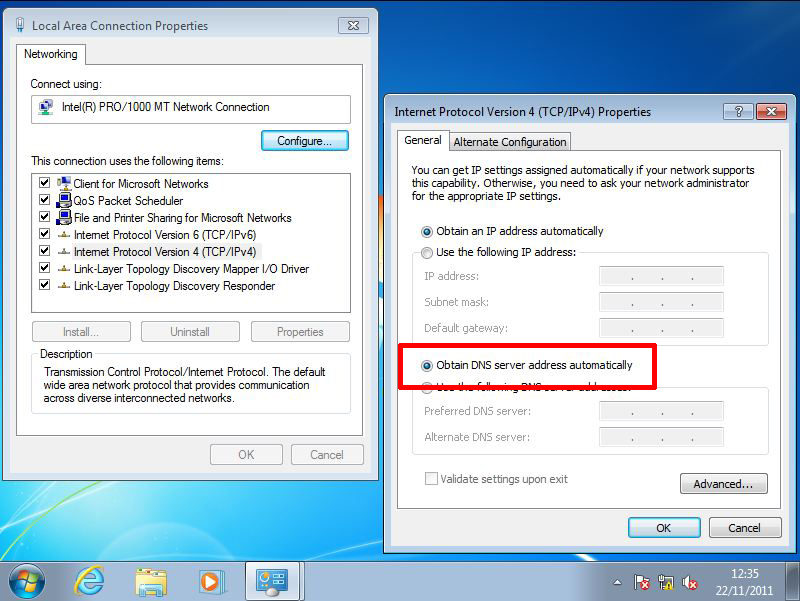
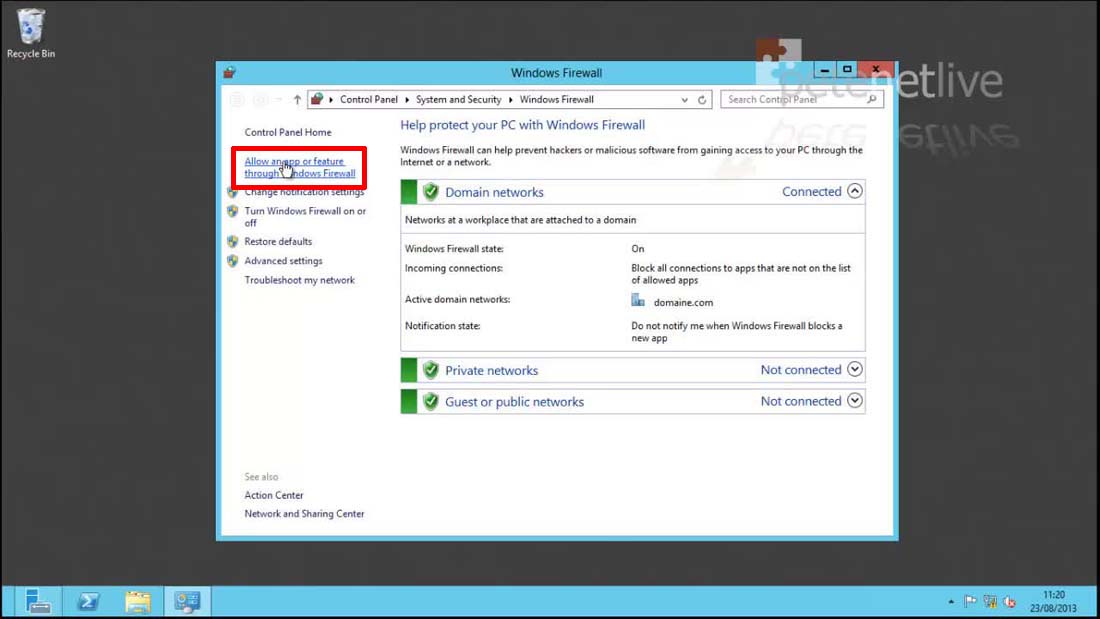
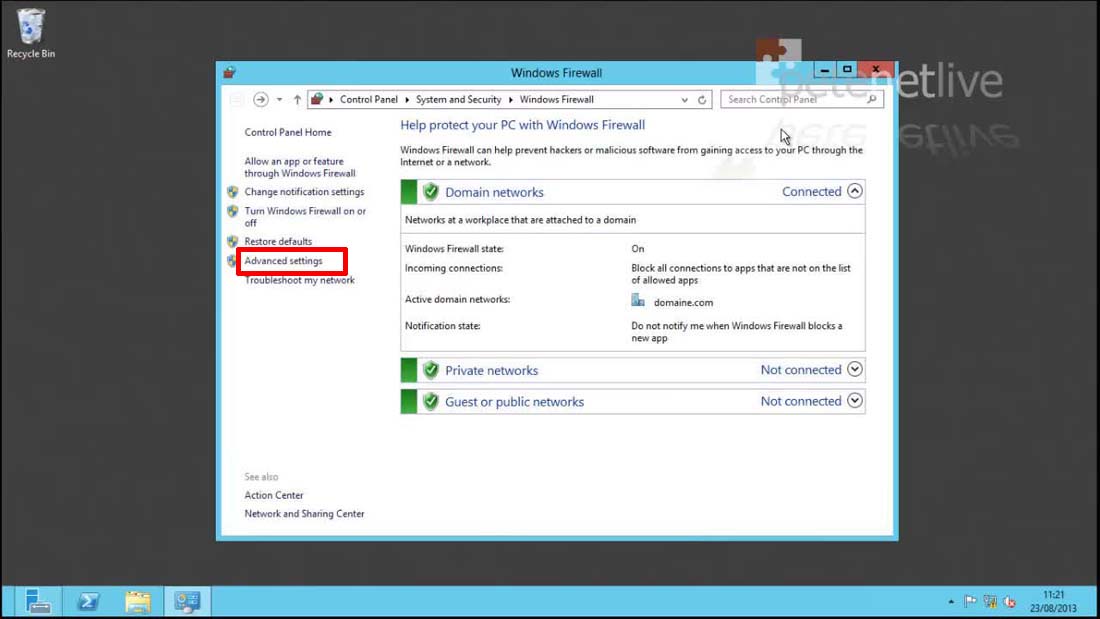
7. Windows Key+R > firewall.cpl > Allow an app or feature through Windows Firewall.
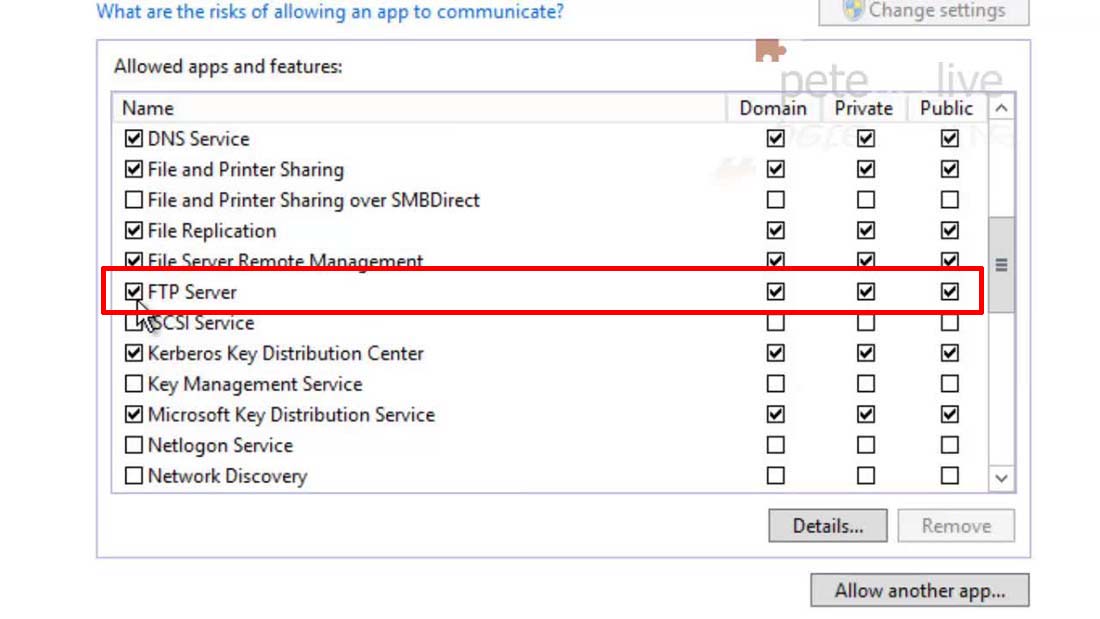
8. Ensure
FTP Server is allowed for the 'profile' that your network card has been allocated.
9. Advanced Settings.
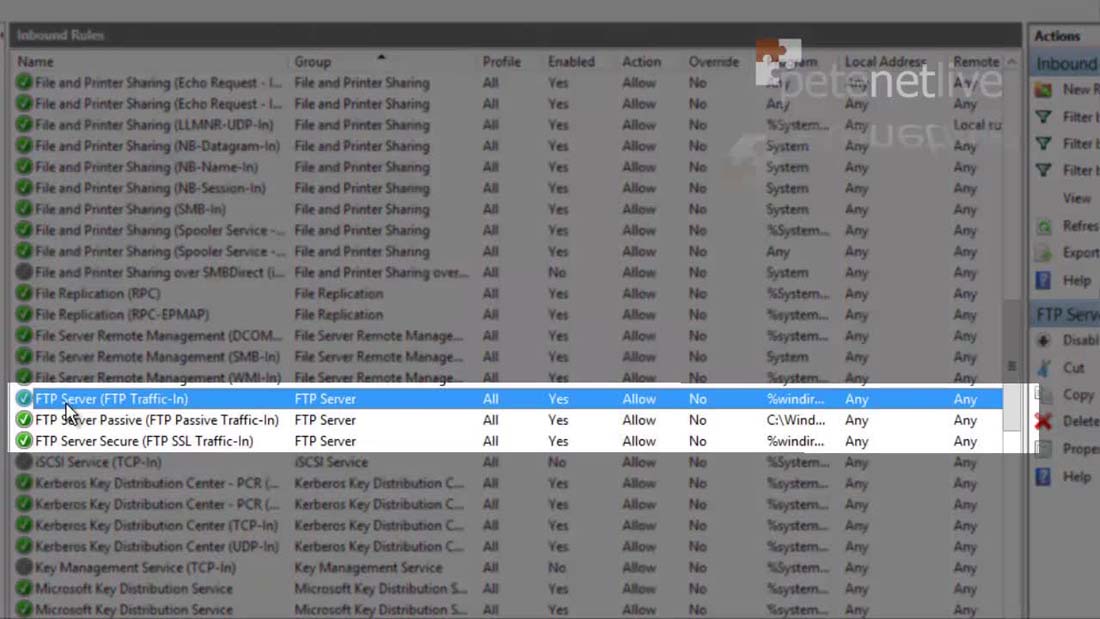
10. Incoming Rules.
11. There should be three
FTP Settings, by default they should be enabled (for FTP Port 21, Passive Ports, and Secure FTP /
TCP 990).
Windows 2012 FTP Server - Testing Access
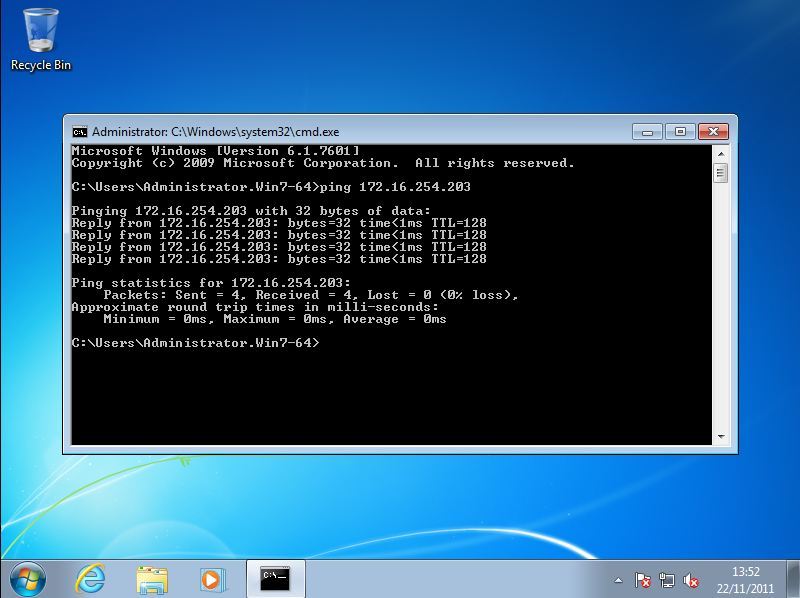
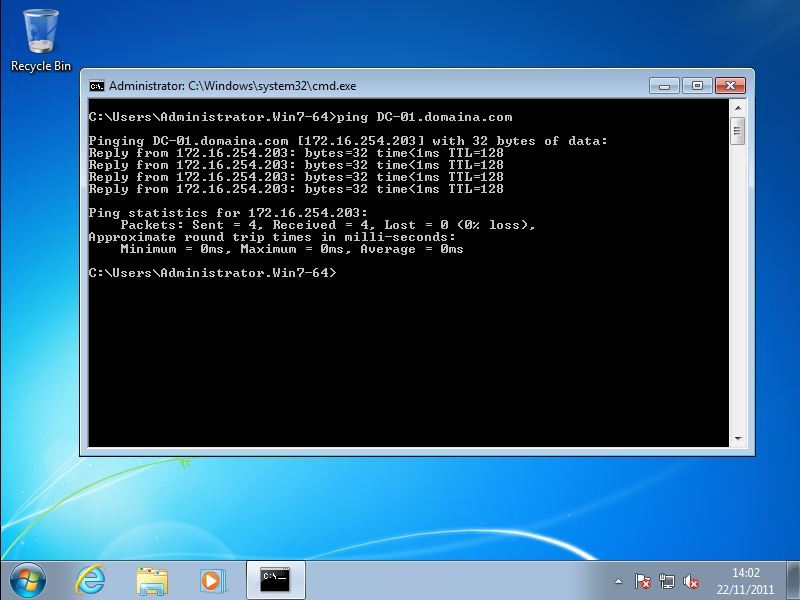
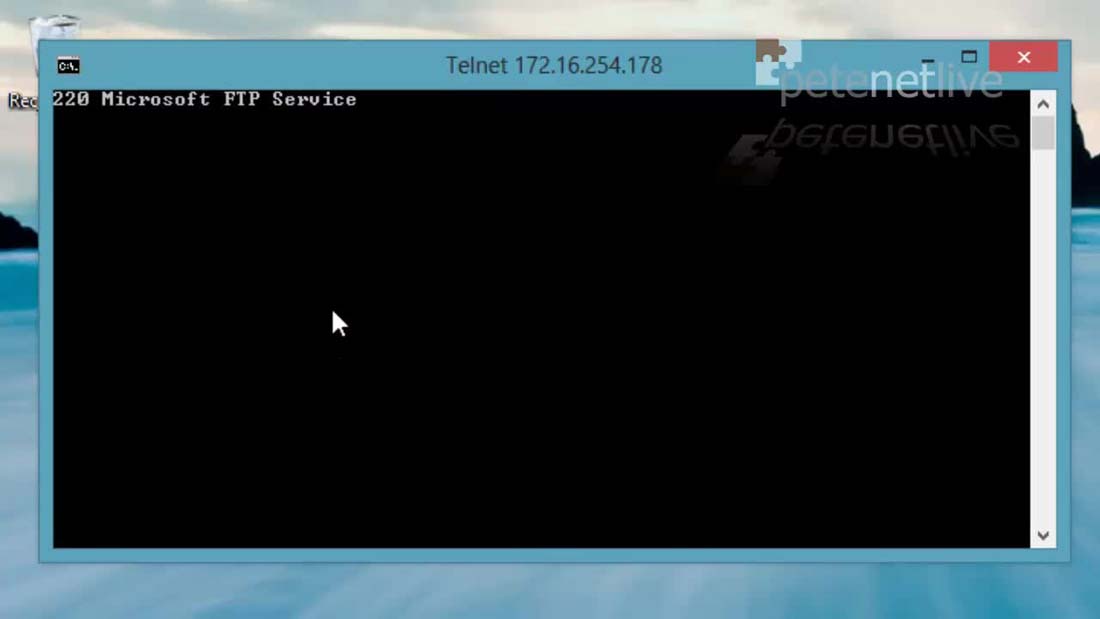
1. You can test the firewall is open by opening a telnet session to the server on port 21;
telnet {ip address or name of server} 21
2. This is what you should see (or in some cases a blinking
cursor, if you are going through a firewall or device that suppresses
response headers).
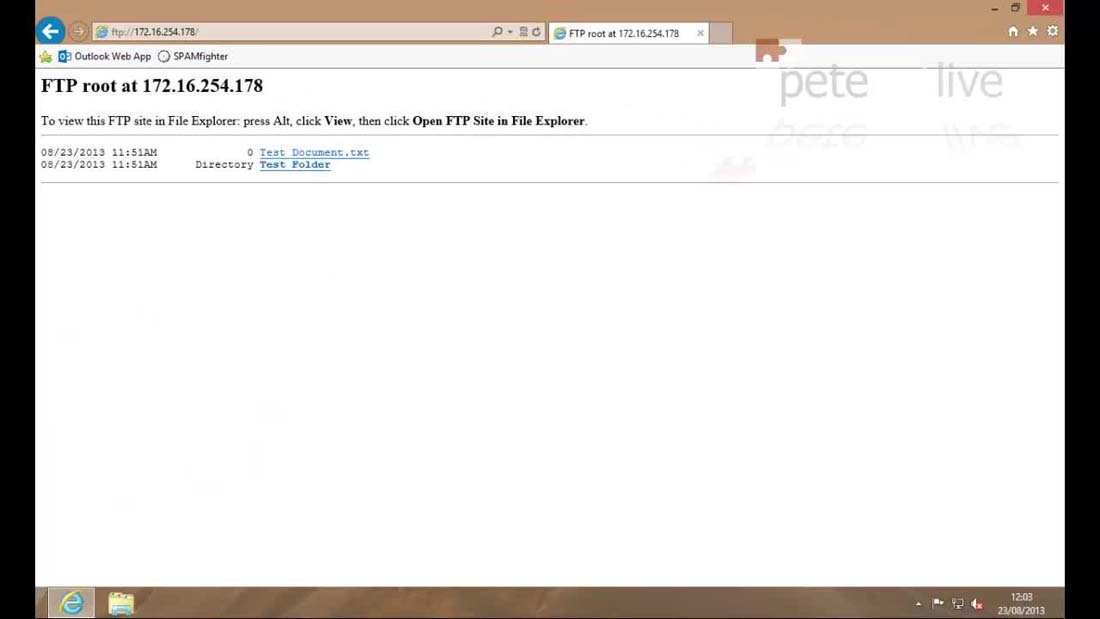
3. Or you can use a web browser and navigate to ftp://{ip address or name of the
FTP server}.
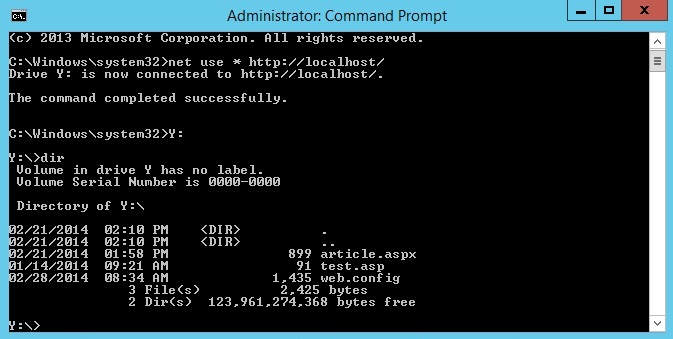
4. Or from command line you can use the direct ftp command like so;
ftp {ip address or name of server}
Windows 2012 FTP Server - Testing External Access
To access the server externally (from the internet), requires your remote users to know either the public
IP address or the public name of the server. In addition
FTP (
TCP Port 21) needs to be open to that IP address. This can be done by giving the server its own public IP address, or by
Port Forwarding
FTP from your public IP address to the private IP address of the FTP
server. How that is done will differ depending on your firewall or
router.
Note: If you have a Cisco Firewall, I'll put the links you require on the bottom of the page.
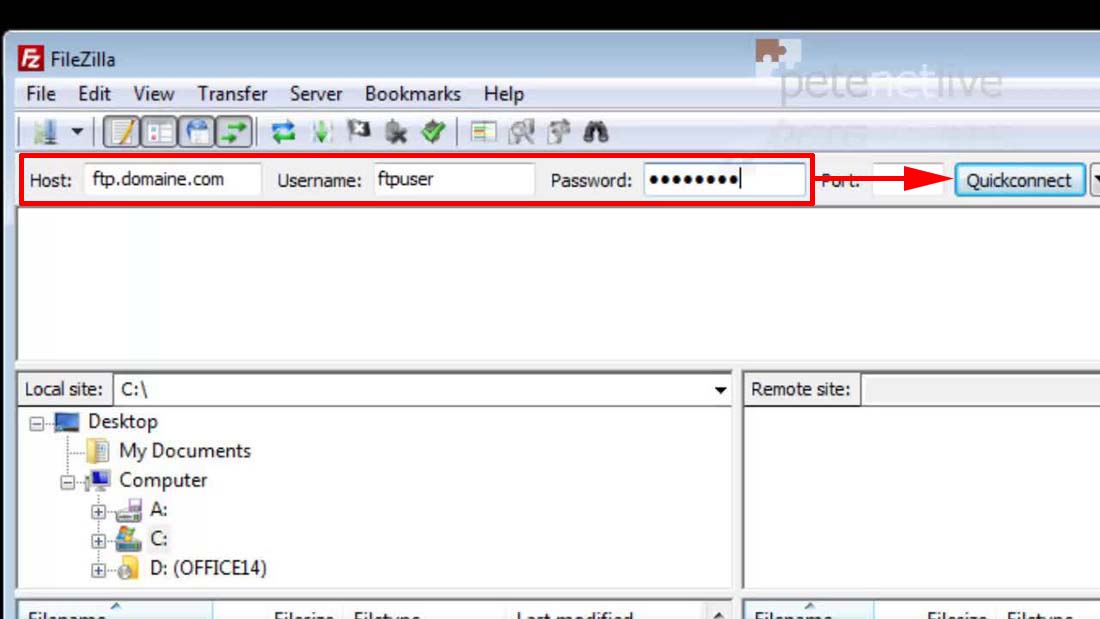
1. Here I'm on an external machine, and I'm using
FileZilla (a free FTP client) to connect to my FTP server.
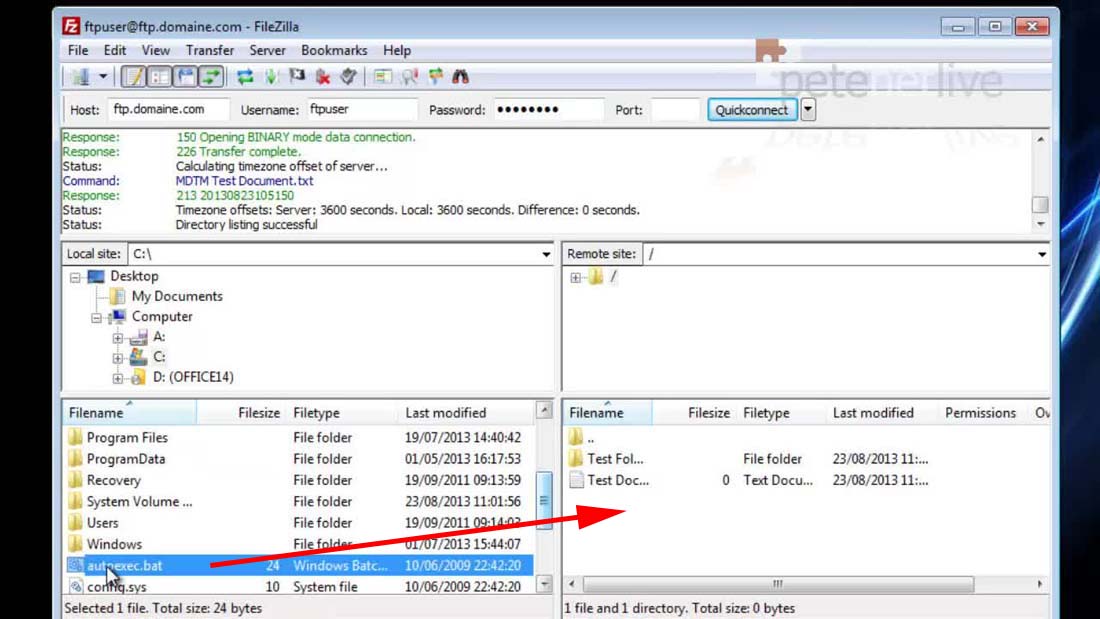
2. Just to test I'll drag a file to the
FTP server, to make sure I can write/put files.
3. Here is the file uploaded.
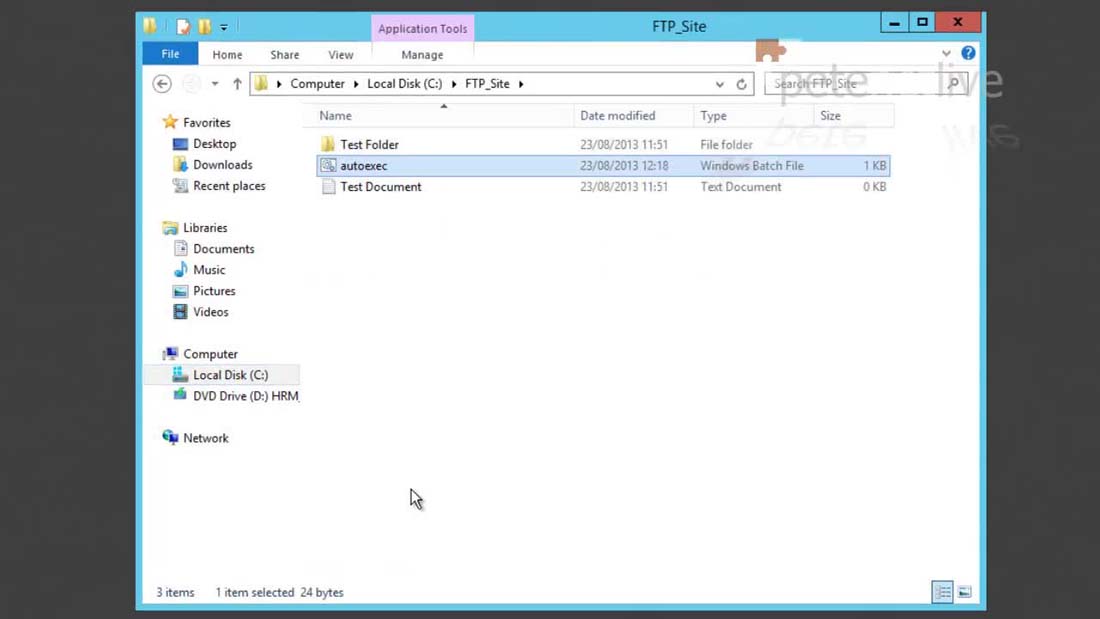
4. Back on the server, in the 'root' folder you can see the file successfully uploaded.
Published By
S.G.Godwin Dinesh.MCA
Sr.System Administrator